Dermaplaning and Microneedling: Get the Glowing Look Celebrities Love
This post is about dermaplaning and microneedling.
This post about dermaplaning and microneedling may contain affiliate links, which means I’ll receive a commission if you purchase through my link, at no extra cost to you.
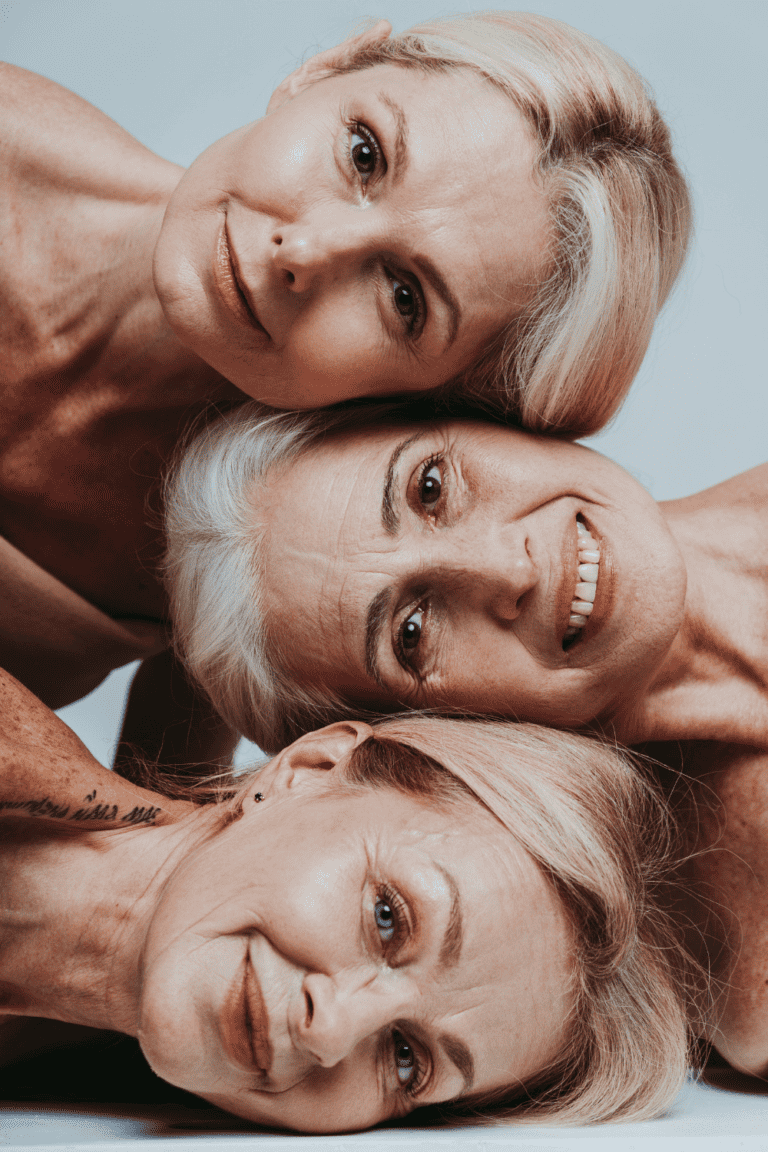
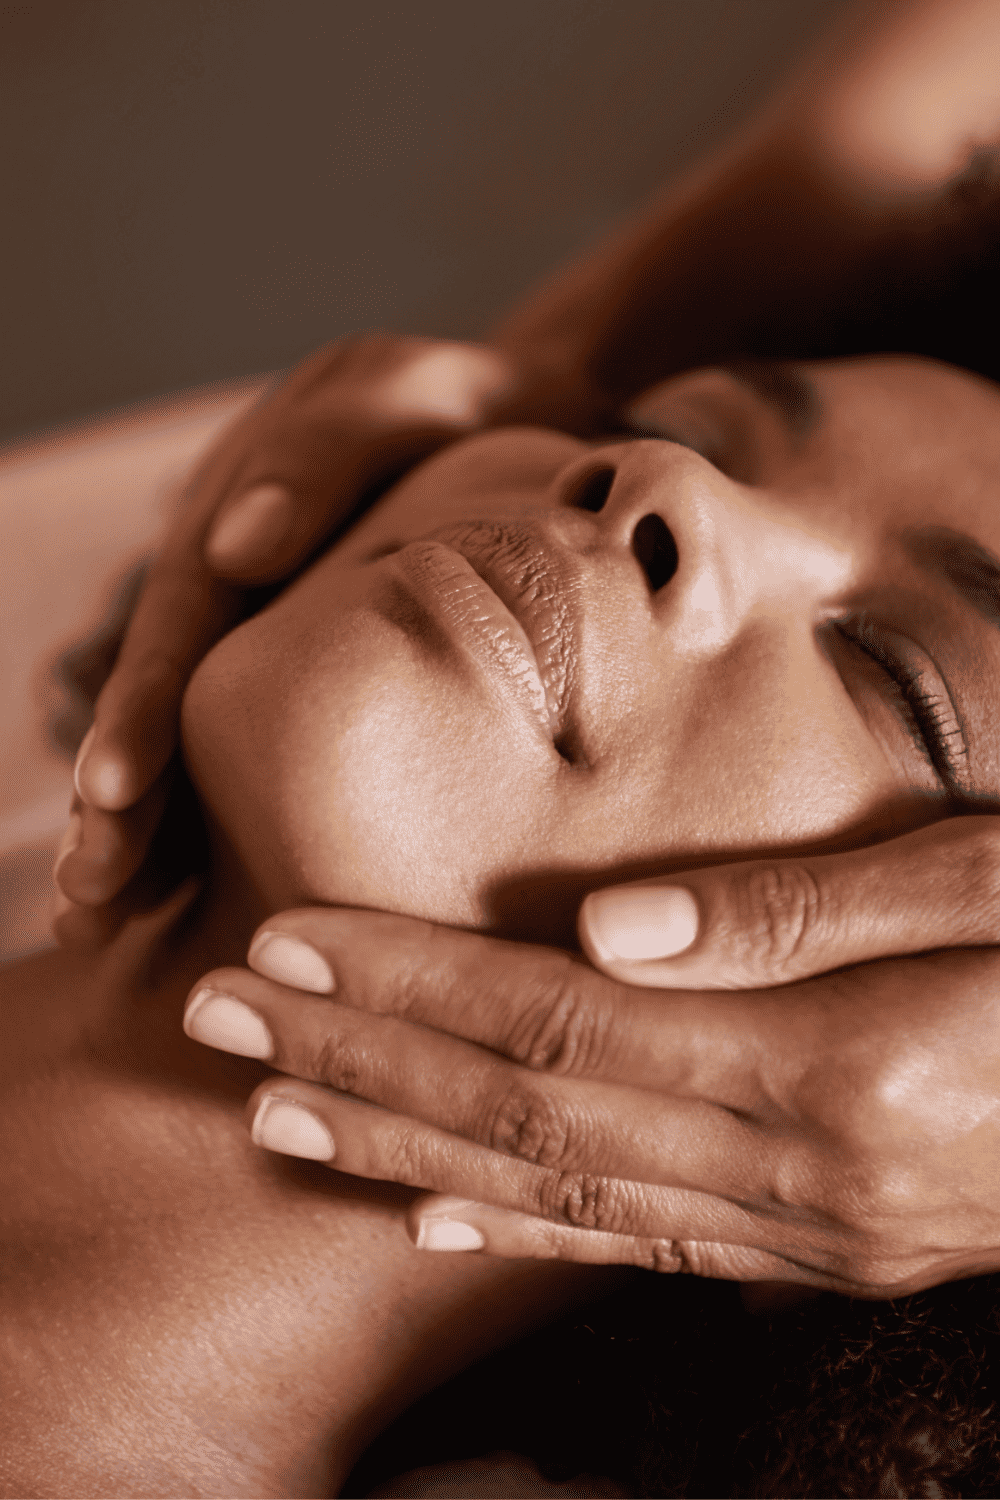
In the ever-evolving realm of skincare, two procedures have taken the spotlight, capturing the hearts of celebrities and beauty enthusiasts alike. Dermaplaning and microneedling have become synonymous with the pursuit of a radiant complexion, and it’s no secret why. Let’s explore these transformative treatments and uncover the secrets behind the glowing look that celebrities love.
Dermaplaning: A Gentle Exfoliation for a Polished Canvas
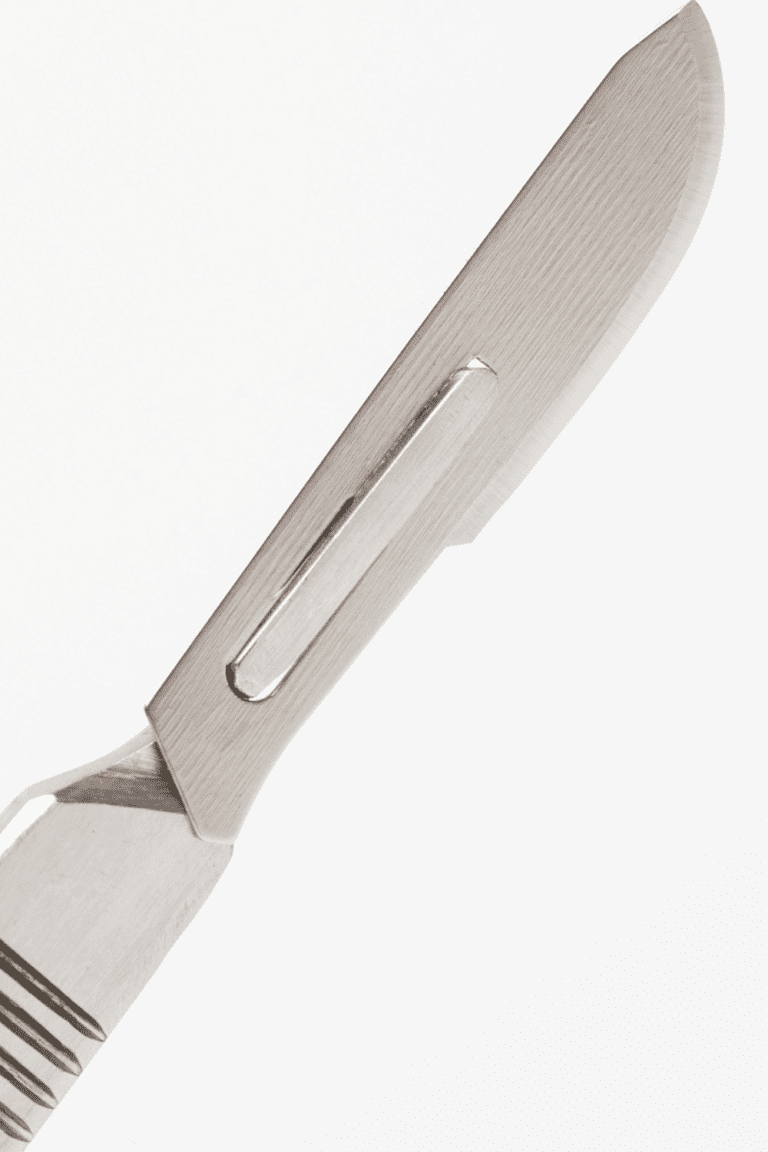
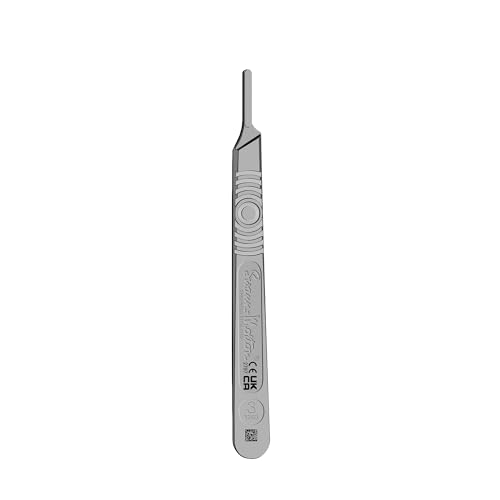
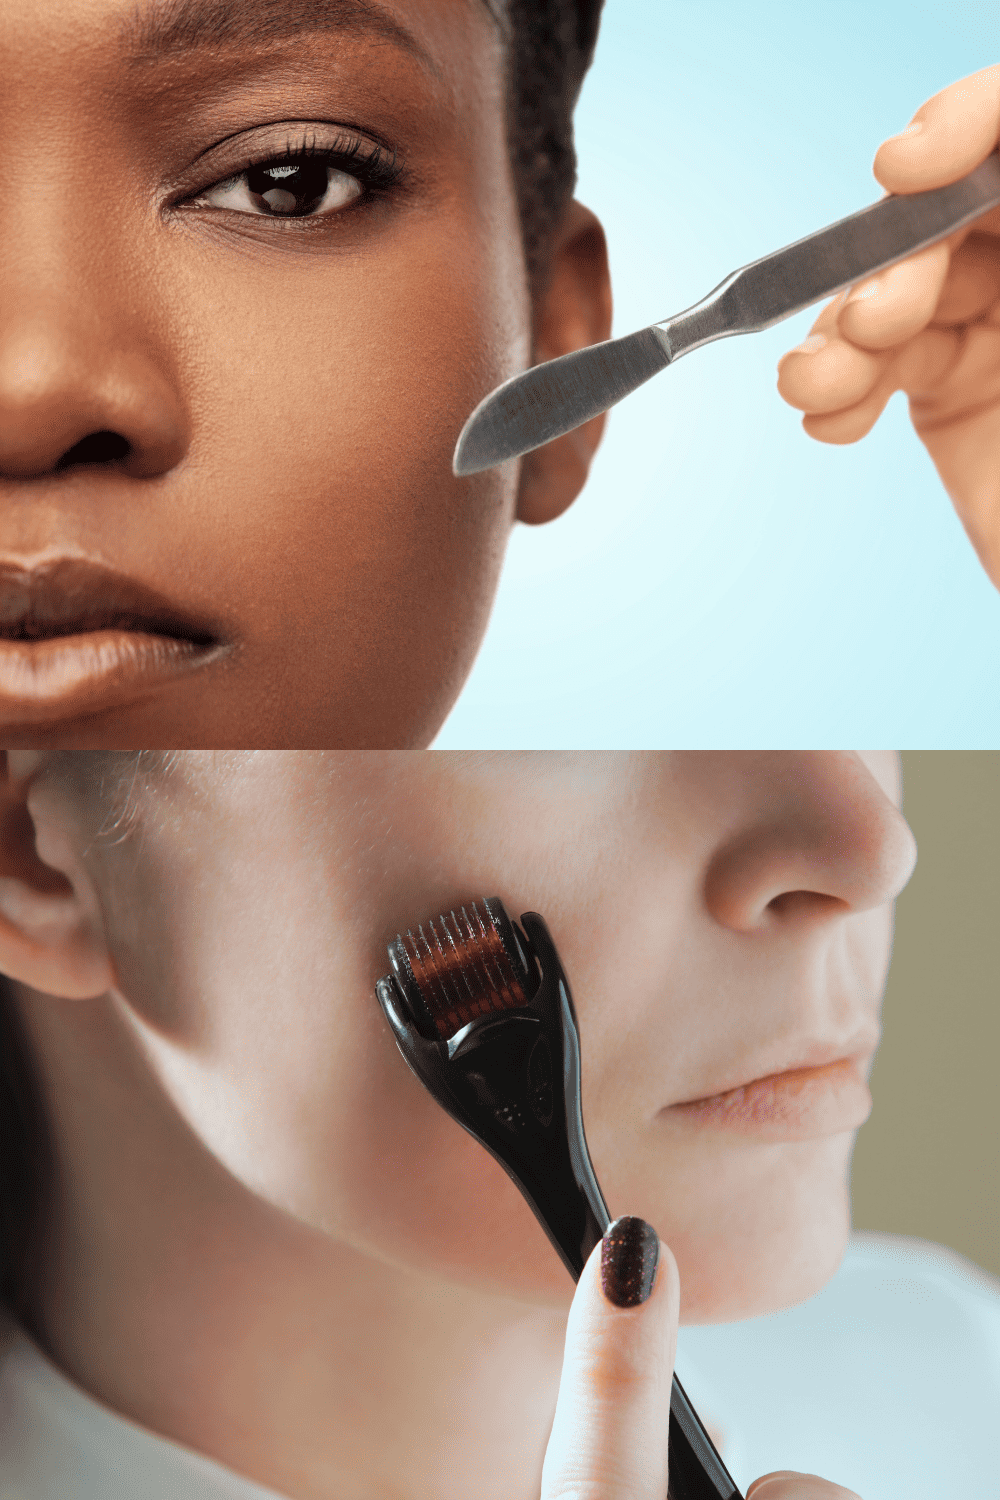
Dermaplaning, often referred to as the “manual exfoliation,” involves a skilled esthetician delicately scraping away the outer layer of dead skin cells and vellus hair using a surgical scalpel. This precise technique unveils a smoother, more luminous complexion. You can also do this procedure at home (carefully).
Benefits of Dermaplaning:
- Exfoliates dead skin cells: This promotes skin turnover and reveals a brighter, smoother complexion.
- Removes vellus hair: This allows makeup application to be more even and flawless.
- Enhances product absorption: Removing the top layer of dead skin allows skincare products to penetrate deeper into the skin for maximum effectiveness.
- Painless and quick procedure: Dermaplaning is typically completed in 15-30 minutes and is virtually painless.
Microneedling: Harnessing the Power of Tiny Punctures
Microneedling, also known as collagen induction therapy, involves using a device with tiny needles to create microscopic punctures in the skin. This controlled injury triggers the body’s natural healing response, stimulating the production of collagen and elastin – the building blocks of healthy, youthful skin.
Benefits of Microneedling:
- Reduces the appearance of fine lines and wrinkles: By stimulating collagen production, microneedling plumps the skin, reducing the appearance of wrinkles and fine lines.
- Improves skin texture and tone: Microneedling can help to smooth out rough skin texture and even skin tone.
- Reduces acne scars and stretch marks: The controlled injury can help to break down scar tissue and improve the appearance of acne scars and stretch marks.
- Promotes collagen production: Microneedling can stimulate collagen production because of the micro-injuries they create.
- Minimizes pores: Microneedling can help to shrink the appearance of enlarged pores.
The Synergy of Dermaplaning and Microneedling:
While both dermaplaning and microneedling offer impressive individual benefits, their synergy takes results to a whole new level. Here’s how:
- Enhanced product absorption: By removing the dead skin layer and vellus hair, dermaplaning allows serums and other skincare products to penetrate deeper into the skin, maximizing the effectiveness of microneedling.
- Increased collagen production: The combined stimulation from both treatments further amplifies collagen production, leading to firmer, more elastic skin.
- Improved skin texture and tone: The exfoliation from dermaplaning removes dead skin cells and smooths the skin’s surface, while microneedling further improves tone and texture by addressing concerns like hyperpigmentation and acne scars.
- Reduced risk of side effects: Microneedling can sometimes cause redness and irritation, but by removing the vellus hair and dead skin cells beforehand, dermaplaning can help to minimize these side effects.
The Perfect Pairing: Dermaplaning and Microneedling: Choosing the Right Treatment for You
While dermaplaning and microneedling are a powerful duo, choosing the right treatment or combination depends on your individual needs and goals. They are definitely not the same treatment so don’t think you need to choose one or the other. I think of dermaplaning as mainly for exfoliation and making your skin super smooth and microneedling is going deeper to make the skin more plump and re-surfaced.
Dermaplaning:
- Ideal for those seeking a quick and painless way to achieve a smoother, brighter complexion.
- Suitable for all skin types.
- Can be performed every 4-6 weeks.
Microneedling:
- Best for those wanting to address deeper concerns like wrinkles, acne scars, and stretch marks.
- May not be suitable for sensitive skin or those with active acne.
- Requires a few days of downtime following the treatment.
- The recommended spacing between microneedling sessions varies from practitioners to practitioner and the depth of the needle so it’s best to consult your practitioner or the instructions from your device manufacturer.
The Combination Approach of Dermaplaning and Microneedling:
For optimal results, consider combining dermaplaning and microneedling. Dermaplaning can be done 1-2 weeks before microneedling to prepare the skin for deeper product penetration and better results. If you have sensitive skin, a skin condition, or acne prone skin then it’s a smart idea to consult with a professional.
If you don’t have skin conditions or sensitive skin then you should be able to proceed carefully and slowly with great results. I personally think a good rotation is to dermaplane about once a month and microneedle also every 4-8 weeks, leaving 1-2 weeks between dermaplaning and microneedling.
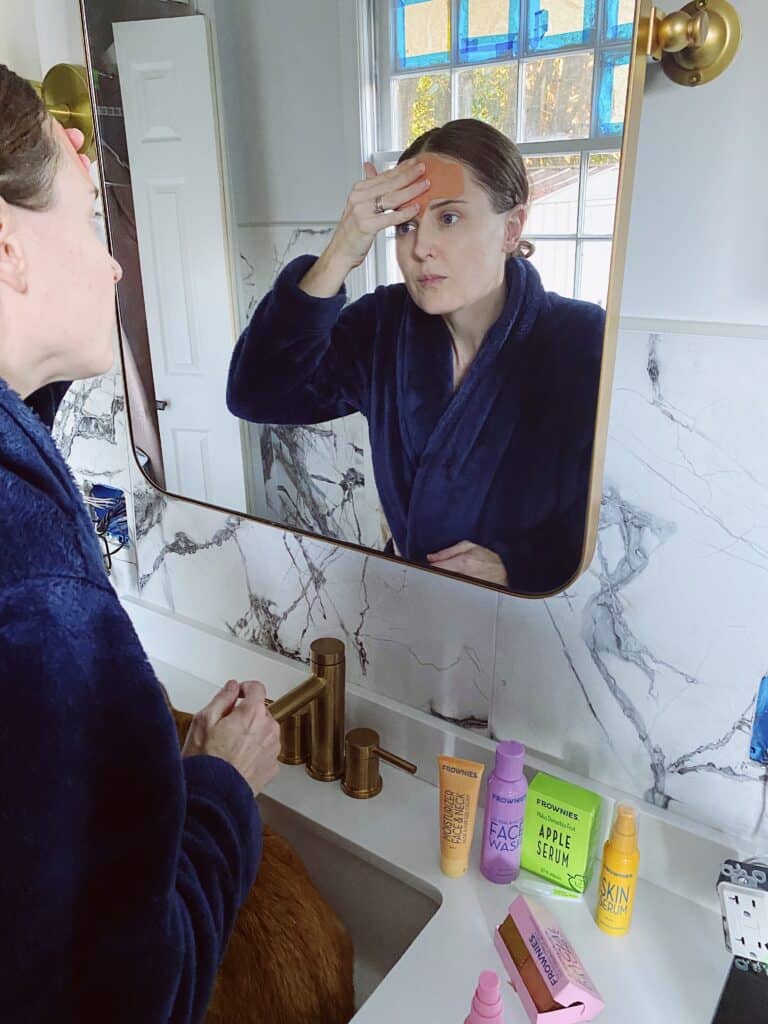
Are They Safe For At Home Use?
Both dermaplaning and microneedling are normally performed by professionals in clinics but there are dialed-down tools that are safe for at-home use and I personally use these tools with success at home. Your results at home won’t be as good as in a clinic but they still can create a significant beneficial change. Here are some important safety tips for at home (or in the office):
- If using microneedling your needle tips need to be extremely sanitized or brand new. I personally recommend using brand new cartridges for each micro needling experience, that way you don’t have to worry about bacteria spread from a previous use.
- If doing dermaplaning, the razor should not be as sharp as a professional would use. It’s too easy to knick your skin when you aren’t trained and used to using a sharp razor. Make sure your razor is extremely sanitized and clean.
- Don’t microneedle or razor over open wounds or active acne, this can spread infection/bacteria/fungus.
- Make sure your skin is very clean. For microneedling it’s recommended that your face be cleaned with alcohol first to really make sure no bacteria is going to be pushed into your skin.
- For microneedling it’s good to use latex gloves to further cut down on the chance of bacteria transmission.
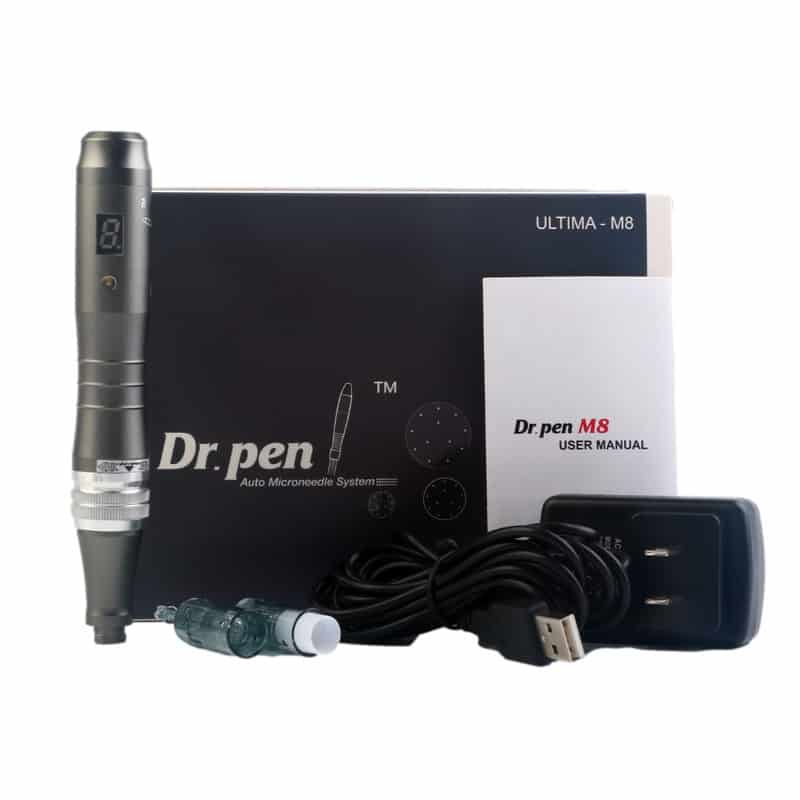
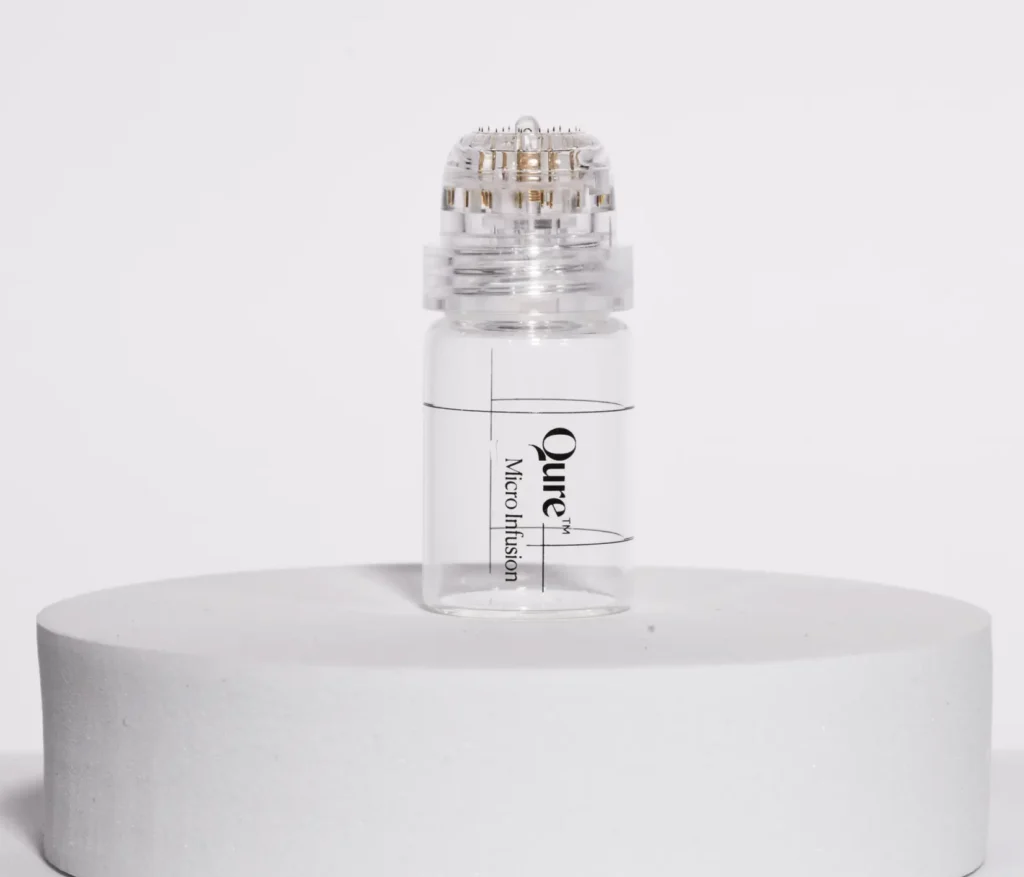
- Don’t buy cheap microneedling tools. I have only found two brands of at-home microneedling tools that I feel safe using at home and one of those tools costs a few thousand dollars and isn’t available in America. This is the microneedling tool I use.
Recommended Tools If You Try At Home:
At Home Microneedling Tools
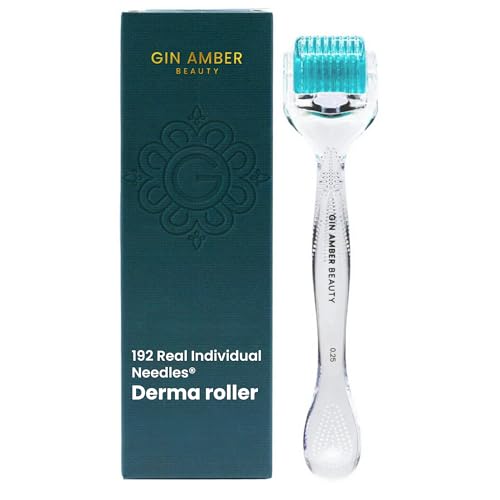
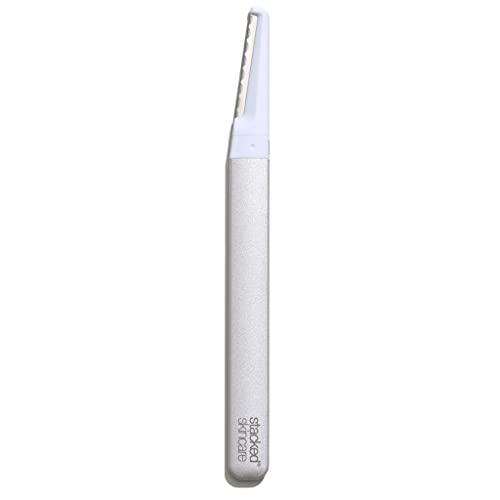
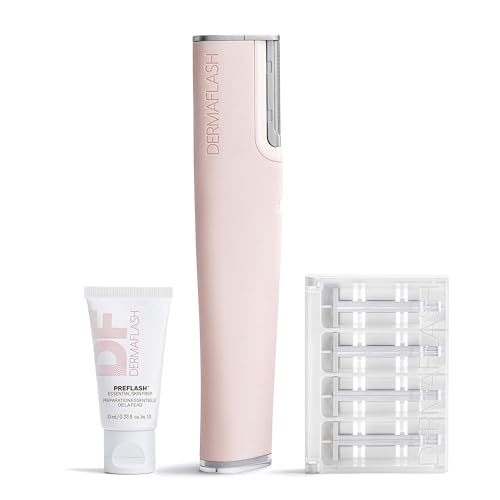
At Home Dermaplaning Tools

Conclusion: Dermaplaning and Microneedling
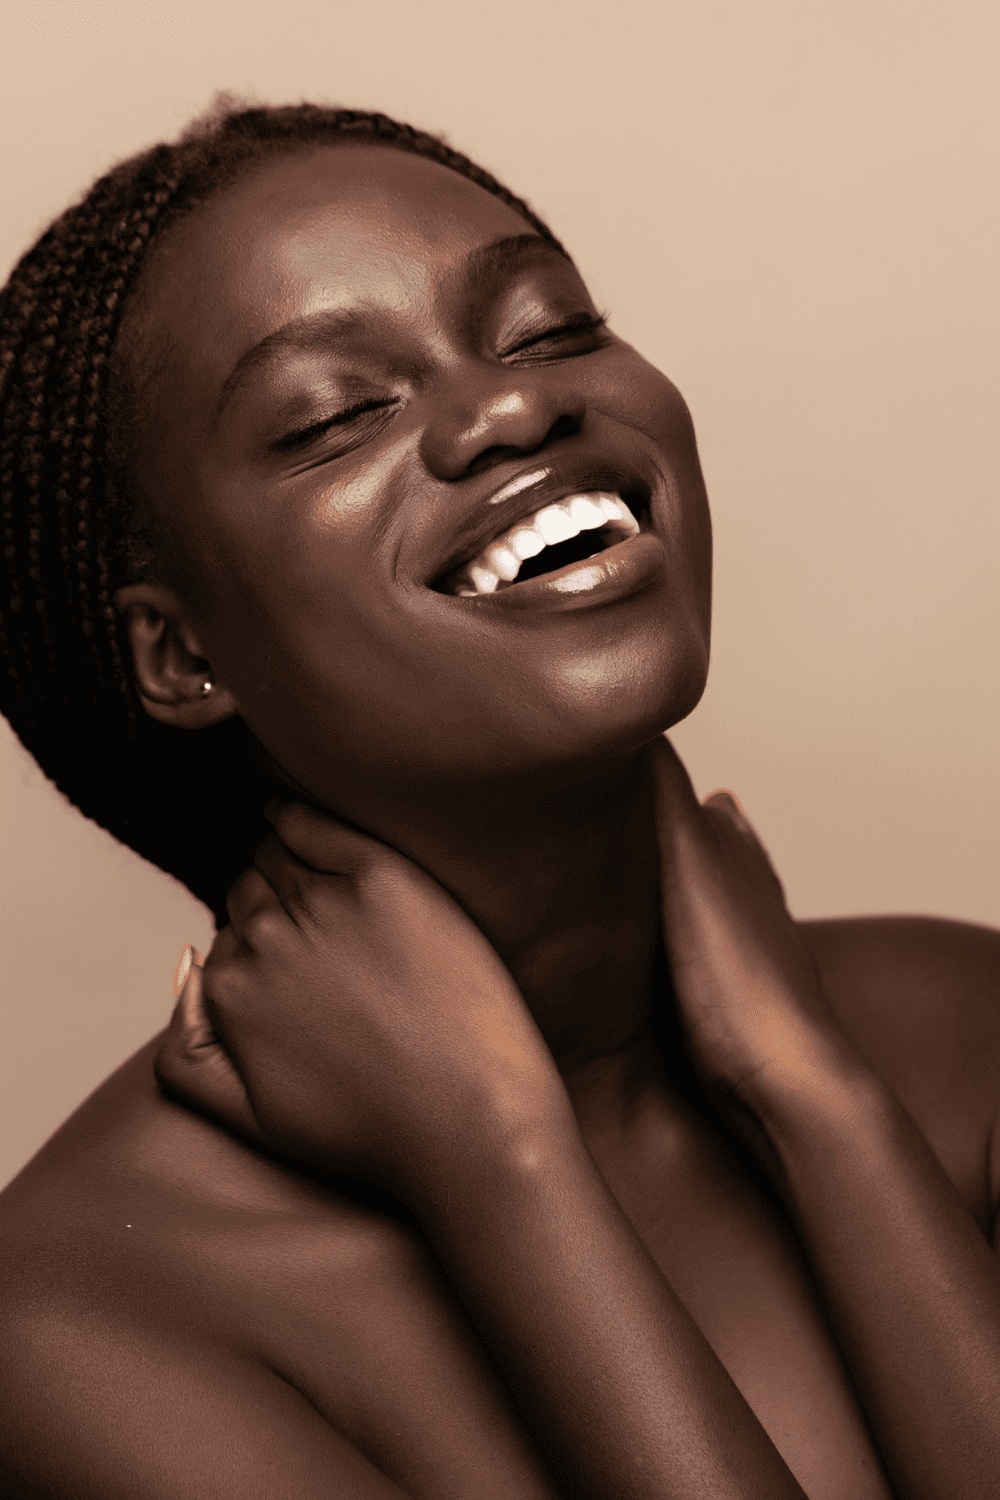
Dermaplaning and microneedling stand as pillars in the skincare routines of celebrities who consistently dazzle us with their radiant complexions. These two modalities are great examples of non toxic skincare options that really work and that are not invasive (although microneedling borders on being slightly invasive). If you’re looking for non toxic and relatively safe (if you do them correctly) beauty options to improve your skin significantly this is a great duo of options.
This post was about dermaplaning and microneedling.
More posts like this…
Top 6 Best Dermaplane Blades for At-Home Dermaplaning
Dermaplaning vs Chemical Peel: Which is Best For You?
10 Essential Steps for Effective Dermaplaning Aftercare
Amazing Red Light Therapy at Home Before and After Photos
How to Get Rid of Wrinkles on Forehead Naturally
Face Yoga Courses: 9 Amazing Ones You Need to Know About
Unmasking the Truth: Are Frownies Reusable?
Favorite Clean Beauty Posts
Favorite Health Posts

Favorite Posts
Last update on 2026-07-13 / Affiliate links / Images from Amazon Product Advertising API
This product presentation was made with AAWP plugin.