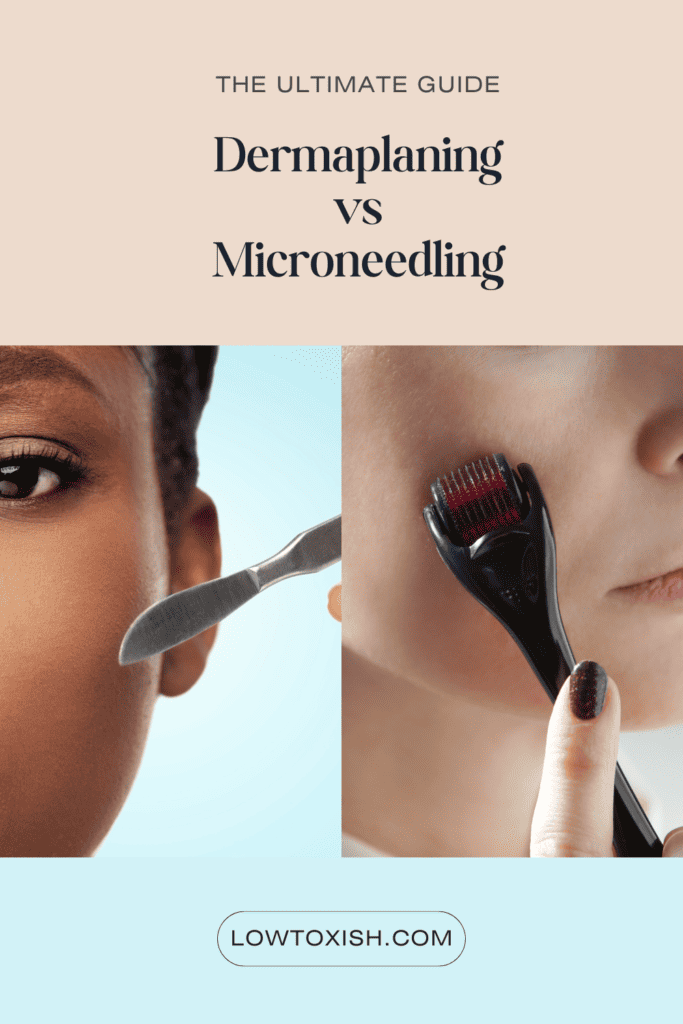
Dermaplaning vs Microneedling: Which Is Best For Your Skin Needs?
This post is about dermaplaning vs microneedling.
This post about dermaplaning vs microneedling may contain affiliate links, which means I’ll receive a commission if you purchase through my link, at no extra cost to you.
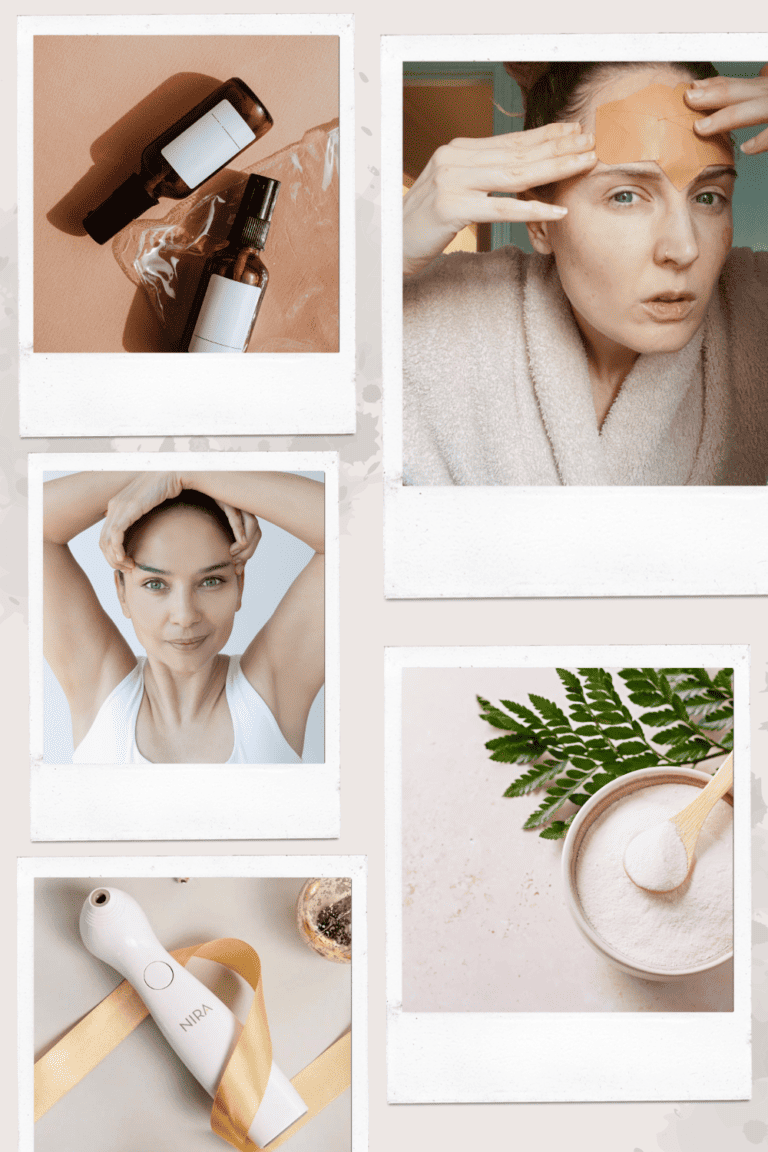
Hey there! Today, we’re taking a look at a standoff in skincare: Dermaplaning vs Microneedling. It doesn’t matter if you’re new to skincare or have been into it for a while and are curious about what’s new – you’re in the right place. Let’s explore how these two treatments (dermaplaning vs microneedling) work together to give your skin a wonderful, natural glow.
Understanding Dermaplaning vs Microneedling: The Basics
Before we dive into how these treatments work together, let’s break down what each one entails:
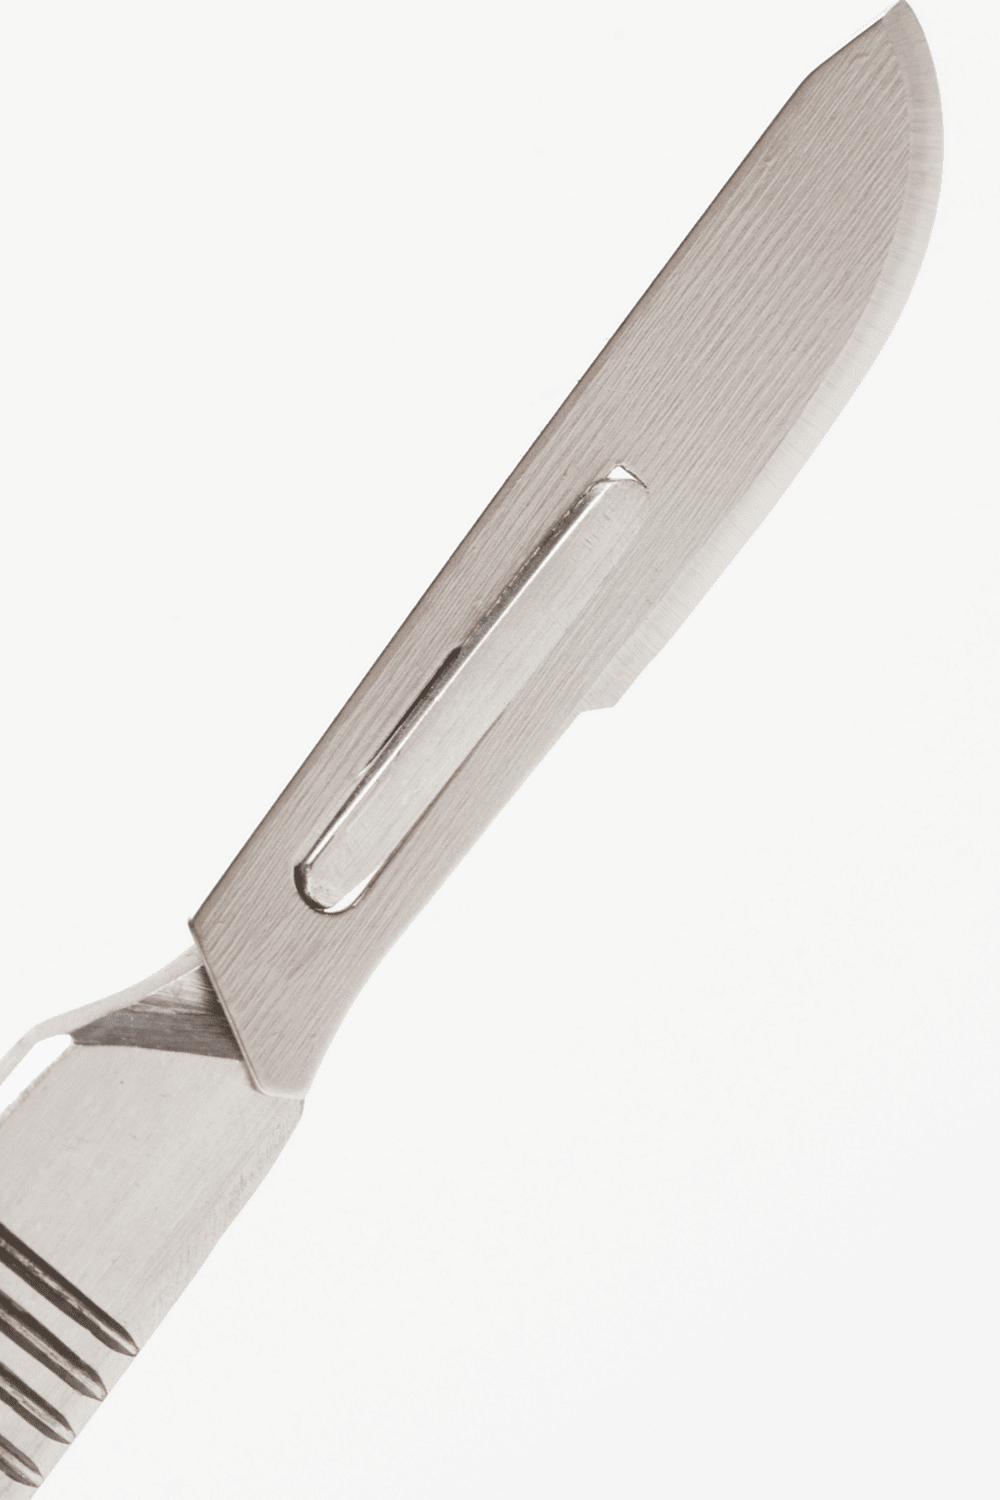
Dermaplaning: The Ultimate Exfoliation Technique
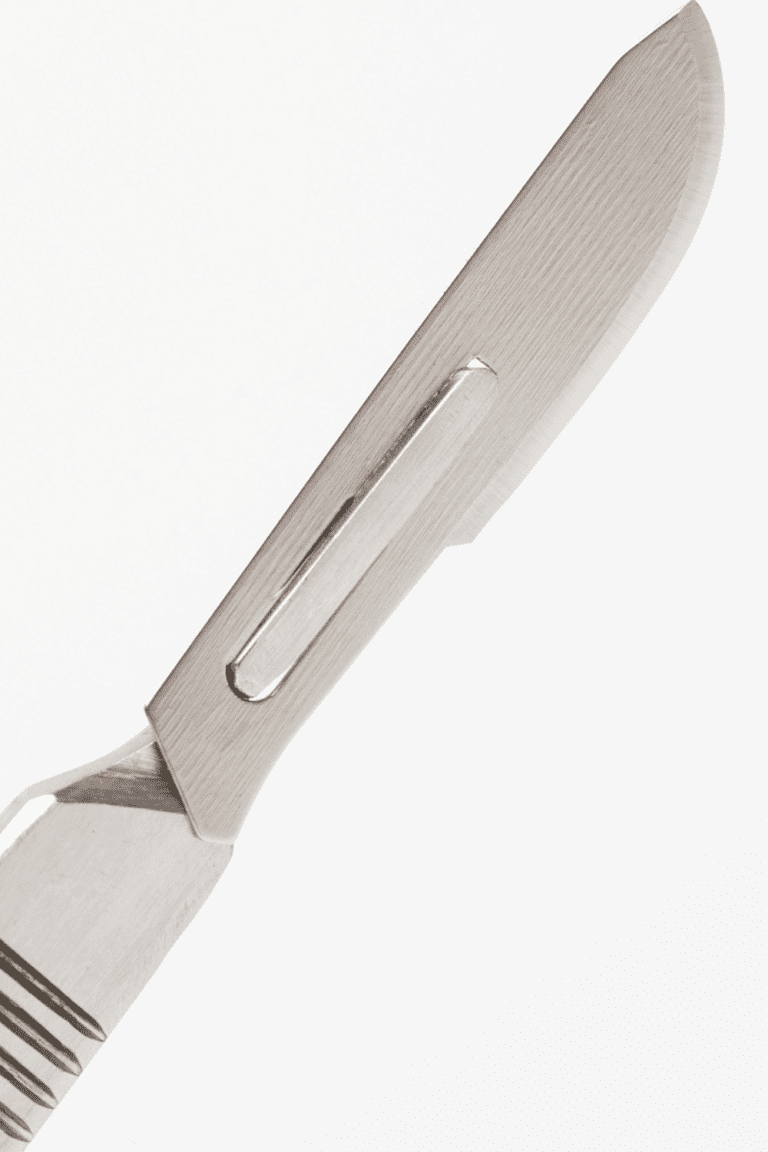
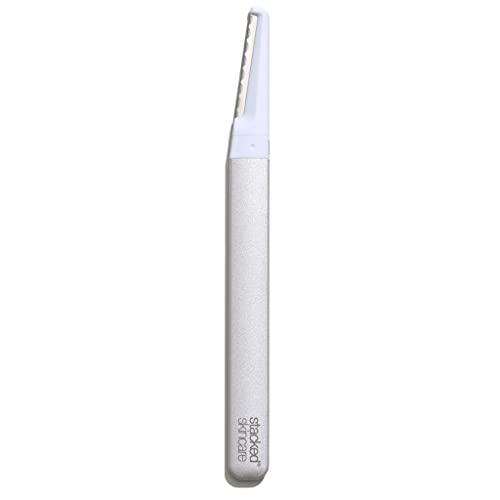
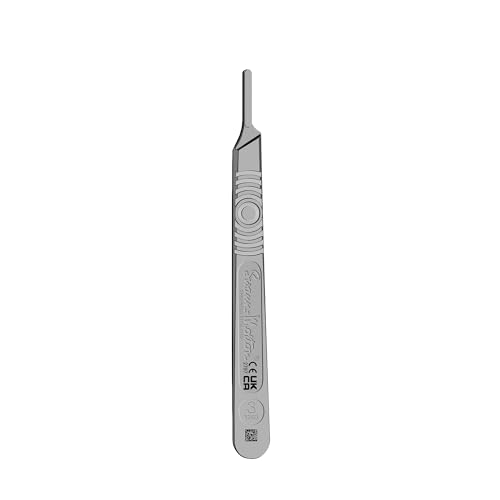
At its core, dermaplaning is a highly effective physical exfoliation procedure. A skilled professional (or yourself if you’re like me and like to save money and DIY it) gently scrapes the skin’s surface with a surgical scalpel (or a at home tool like the ones we mention here), removing dead skin cells and peach fuzz.
This process reveals a smoother, brighter complexion and acts as an excellent preparatory step for further treatments. Dermaplaning not only exfoliates but also enhances skincare absorption and smooths makeup application, delivering quick transformation with little to no pain or downtime.
On a superficial level dermaplaning gets rid of facial hair but when done with a sharper scalpel, it can actually scrape away the top layer of skin and can be used to help with acne scaring. Dermaplaning is known to help most with:
- Acne scars.
- Actinic keratosis (scaly skin patches that can lead to skin cancer).
- Dull or dry skin.
- Peach fuzz (light, soft hair on your face).
- Skin damaged by sun exposure.
- Fine lines (wrinkles).
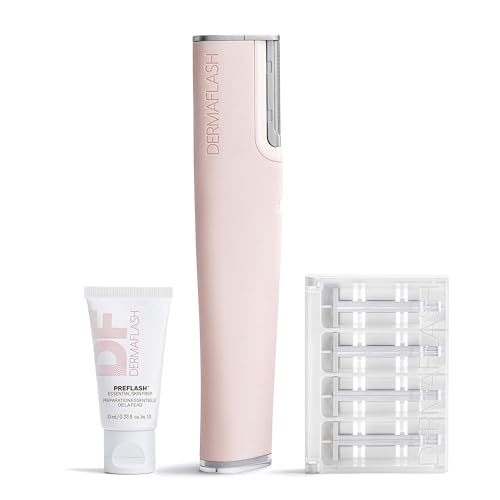
At Home Dermaplaning tools

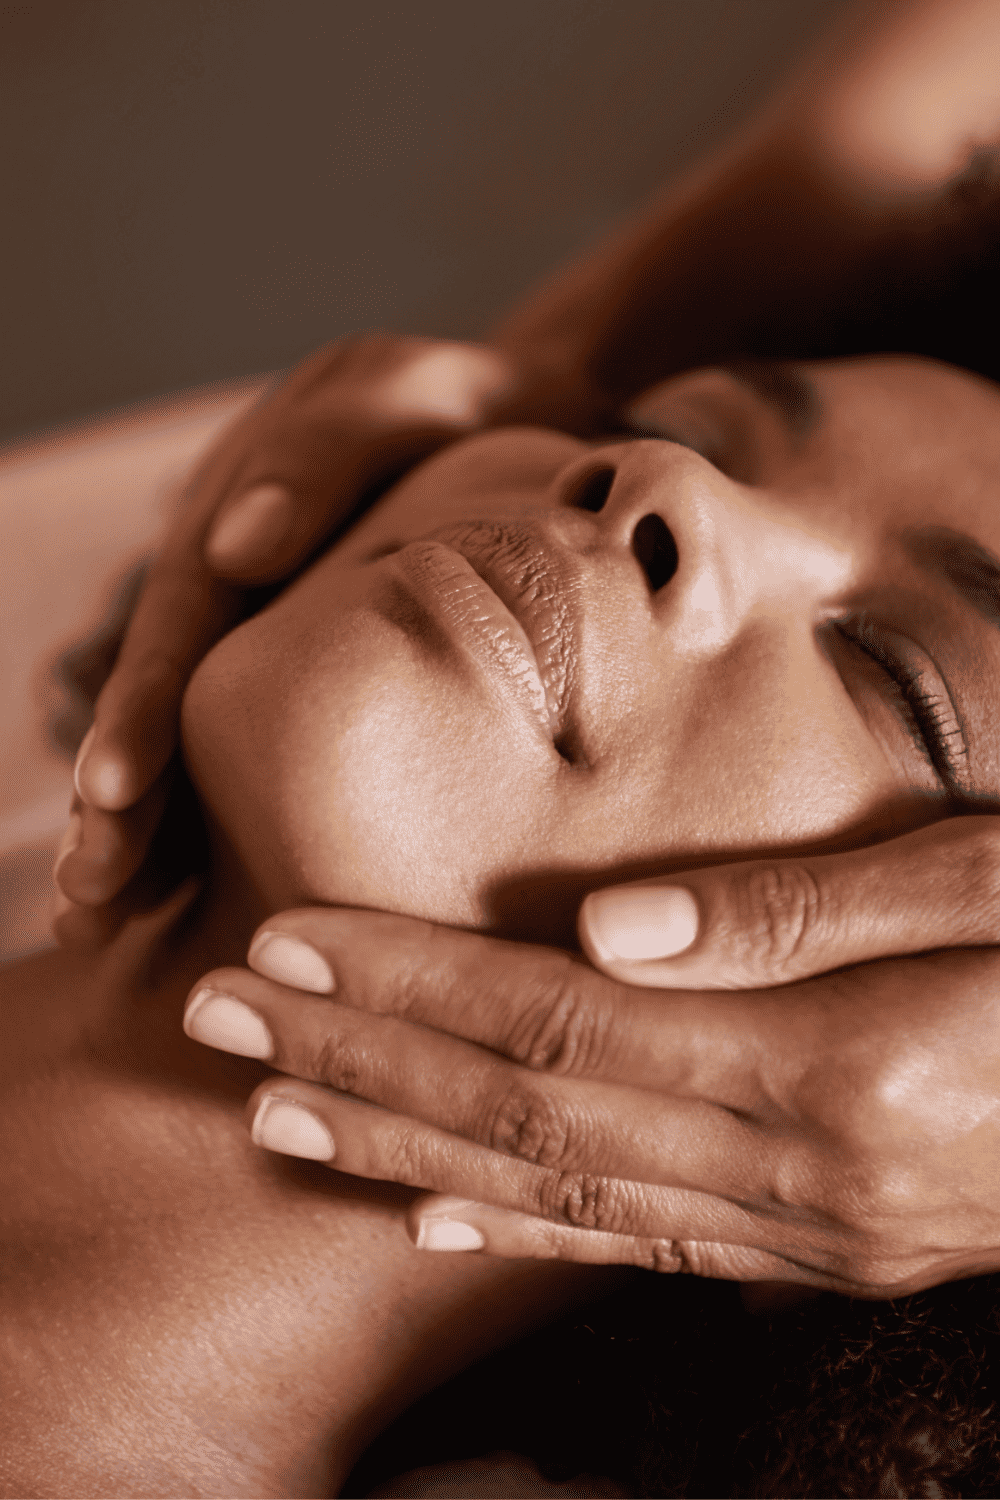
Microneedling: The Collagen Induction Therapy
Microneedling, on the other hand, takes a different approach to skin rejuvenation. By creating micro-injuries in the skin, this procedure triggers the body’s natural wound-healing processes, promoting collagen and elastin production. The result? Firmer, more youthful-looking skin. Microneedling improves skin texture, scars, and aging signs, making it a versatile skincare staple.
Microneedling is most used for:
- Enlarged pores.
- Fine lines or wrinkles.
- Loose or crepey (thin and wrinkled) skin.
- Mild scars, especially those from acne or burns.
- Skin discoloration or uneven skin tone.
- Stretch marks.
- The procedure can also help people who have medical conditions such as:
- Alopecia areata (hair loss due to an autoimmune disease).
- Hyperhidrosis (excessive sweating).
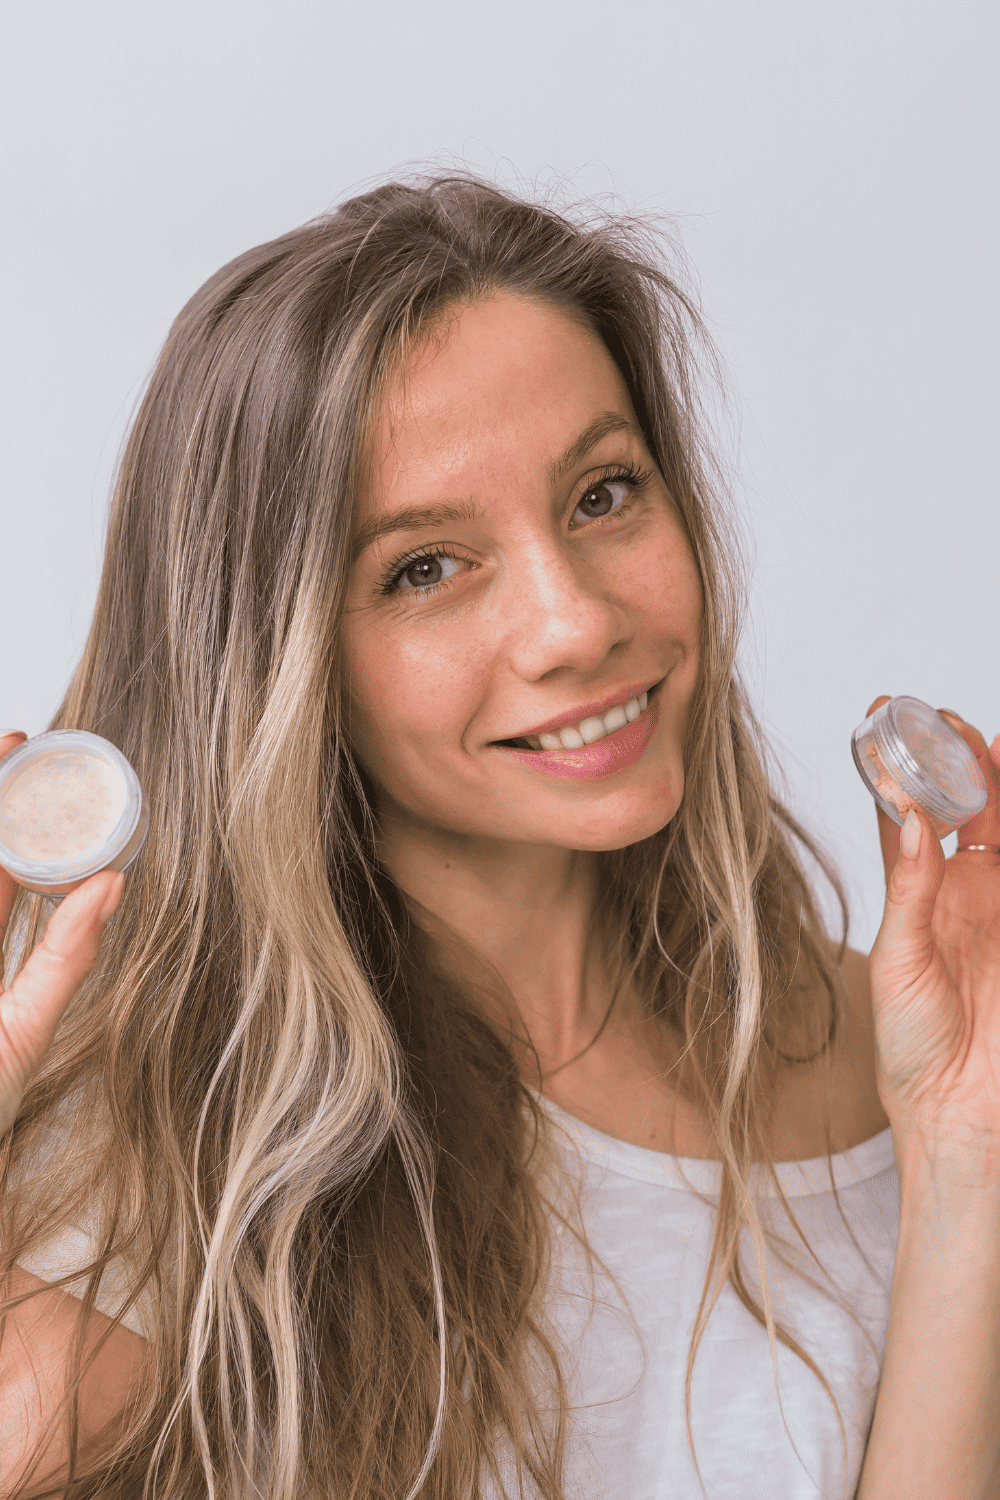
Types of Microneedling:
Microneedling, a popular skincare technique known for its ability to rejuvenate the skin, comes in various forms. Whether you’re considering a DIY approach (like me) or a professional treatment, understanding the different types of microneedling can help you make an informed decision. Let’s delve into the options:
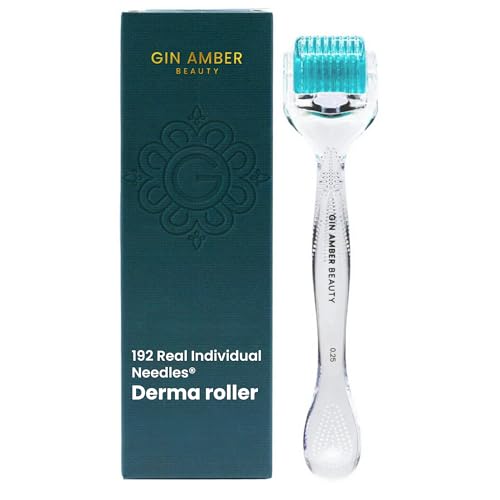
At-Home Microneedling with a Dermaroller
For those looking to dip their toes into the world of microneedling, using a dermaroller at home is a common starting point. A dermaroller is a handheld device equipped with a roller covered in tiny needles. As you gently roll it across your skin, these needles create micro-injuries. This process is believed to stimulate collagen production, leading to fresher, plumper skin. It’s a cost-effective method but requires careful handling to avoid skin irritation or infection.
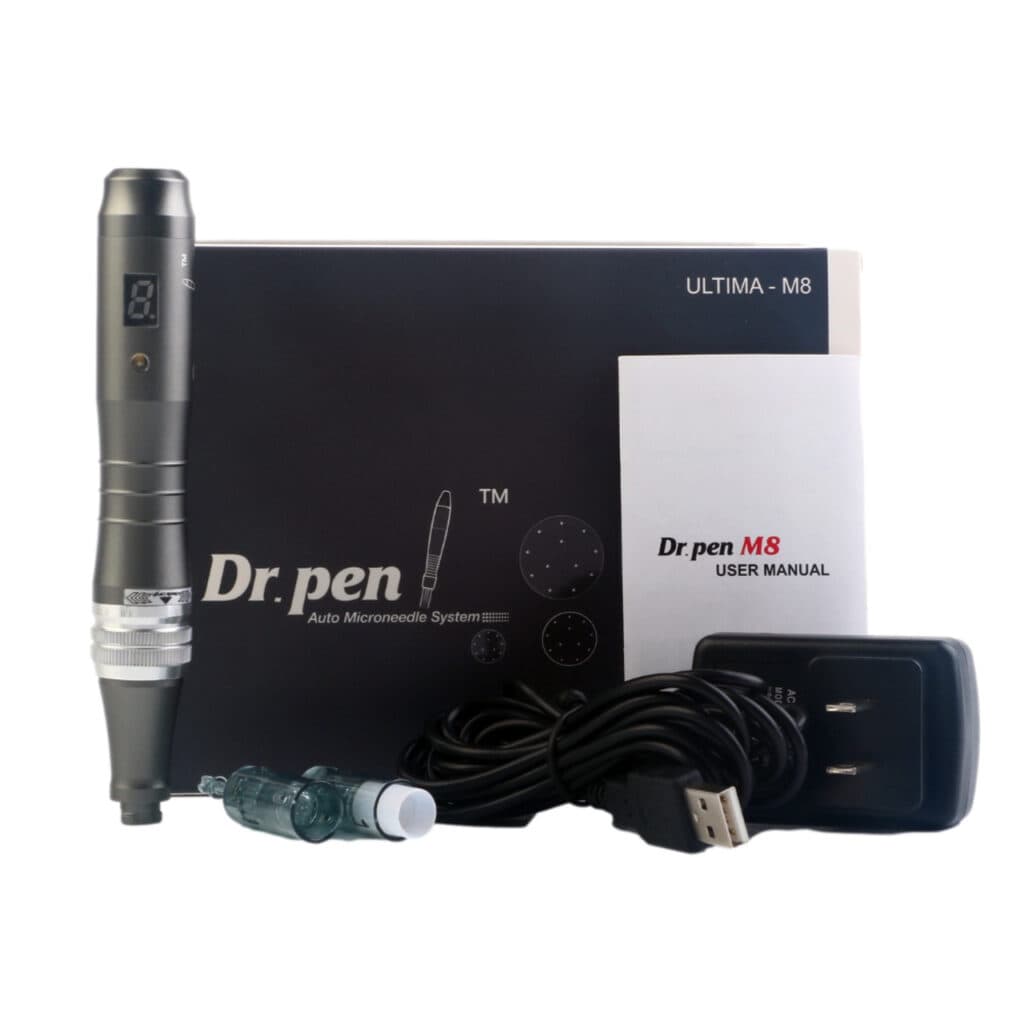
At-Home Microneedling with a Pen
A step up in precision and effectiveness is the at-home microneedling pen. This device resembles a pen, as the name suggests, and uses fine needles to puncture the skin, creating micro-wounds. The pen offers more control over depth and speed compared to a dermaroller, making it suitable for targeting specific areas or concerns. It’s a great choice for those who have some experience with microneedling and want a more tailored approach.
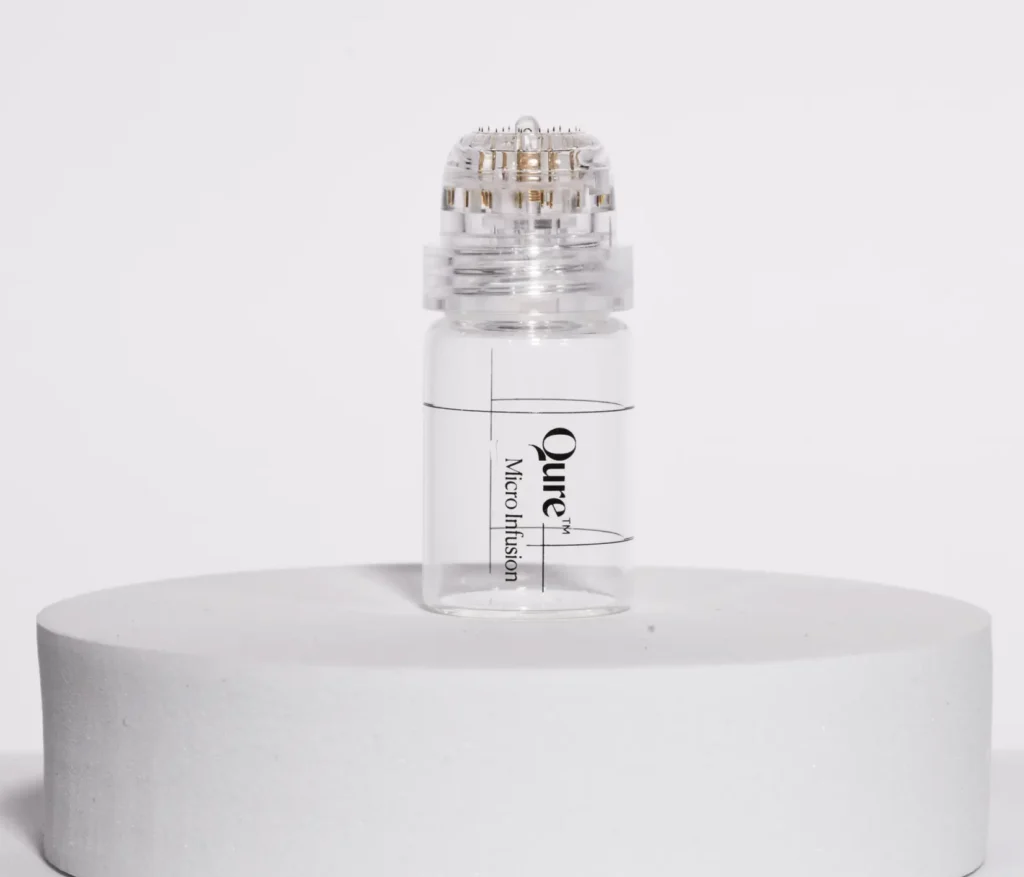
At-Home Microneedling with a Stamp
Another at-home option is the microneedling stamp. This tool, featuring a stamp-like design, is pressed onto the skin rather than rolled. It allows for a more controlled and precise application, making it ideal for sensitive or hard-to-reach areas. The stamp method is often preferred by those who want to avoid the potential dragging or pulling action of rollers and pens.
Qure Micro-Infusion Stamp
In-Office Microneedling
For the most effective and safest results, in-office microneedling is the way to go. Performed by a professional, this procedure uses advanced equipment and can be customized to your skin’s needs. Professionals can use longer needles for deeper penetration, which is not possible with at-home tools. This method is ideal for those who want to tackle more significant skin issues like deep wrinkles, scars, or extensive sun damage.
Each microneedling method offers unique benefits and levels of intensity. At-home options like dermarollers, pens, and stamps are great for maintenance and minor concerns, while in-office treatments are best for more intensive rejuvenation. Remember, no matter the method you choose, it’s crucial to follow proper hygiene practices and consult with a skincare professional to ensure it’s suitable for your skin type. I personally use the Dr. Pen microneedling pen and love it.

Grab your Free
Printable 2024 Art Calendar

Embrace inspiration every day with our FREE 12 month 2023 printable art calendar, featuring stunning masterpieces from renowned artists.
Simply fill out the form bellow and the printable files will be sent immediately to your inbox.
Maximizing Results: Combining Dermaplaning and Microneedling
When used in tandem, dermaplaning and microneedling can significantly enhance each other’s effects:
- Synergistic Exfoliation and Regeneration: Dermaplaning first exfoliates the skin, removing dead cells and peach fuzz. This not only brightens the complexion but also prepares the skin for microneedling, which can then work more effectively. The Microneedling follows up by creating micro-injuries that stimulate the skin’s healing process, enhancing collagen production. This combination leads to smoother, more youthful skin.
- Enhanced Product Absorption: After Dermaplaning, the skin can absorb topical products much more efficiently. Microneedling increases this capability by creating micro-channels that allow deeper penetration of nourishing serums, maximizing their benefits. Utilize quality serums that address your specific skin concerns for the best results.
- Customized Treatment Intervals: The timing between treatments is crucial for maximizing benefits while allowing the skin to heal properly. Dermaplaning can typically be done monthly, but microneedling might require more extended intervals (especially if you get it done by a professional), depending on the treatment intensity and individual skin response. Consulting with a professional can help determine the optimal scheduling for your skin type and goals.
A lot of it comes down to listening to your skin… After you microneedle, your face will be obviously vulnerable and red and then move to being a little dry and flakey… this is not the time to dermaplane. However, once your face has clearly recovered then you’ll know in your gut that you could move forward. In reverse, you won’t need much downtime after dermaplaning but your skin once again will be more vulnerable right after you dermaplane so you wouldn’t want to dermaplane and then immediately microneedle.
To be very honest, microneedling AND dermaplaning both lead to exfoliation so you need to view them as two forms as exfoliation with the big difference being that dermaplaning gets rid of the facial hair. If you think of it like this it helps you schedule… dermaplane when your face the most fuzz and then you can microneedle after that and then give another little break before you dermaplane again to make sure your face isn’t still recovering and flaking from microneedling.
At Home DermaPlaning and Microneedling Schedule (For in-office follow your provider’s suggestions):
- Day 1: Dermaplane
- Day 7: Microneedle
- Day 20: Microneedle if your skin is fully recovered.
- Day 30: Dermaplane
I am NOT licensed anything when it comes to skincare. This is just the schedule my personal skin can take when it comes to dermaplaning and microneedling. I tend to prioritize the benefits of microneedling over dermaplaning but if I had more facial hair then it might be the other way around.
Dermaplaning for sure is a good choice if you want faster results without the downtime (like a few days before a big event or vacation) but it won’t give you the long-term effects microneedling will.
Pre-Treatment Care: Getting Ready for Dermaplaning and Microneedling
Preparation is key to maximizing the benefits of these treatments and minimizing potential side effects. Here’s how to get your skin ready:
- Consult with a Skincare Professional: The first step in your pre-treatment journey should always be a detailed consultation with a licensed esthetician or dermatologist. They can assess your skin’s needs, identify any potential contraindications, and tailor the treatment to best suit your skin type and concerns. Or, you can be like me and read a bunch of research and convince yourself you know what you’re doing (so far so good)…
- Hydration is Key: Begin focusing on internal and external hydration at least a week before your treatment. Drink plenty of water to hydrate your body and skin from within, and use a hyaluronic acid serum to attract moisture to the skin’s surface. A well-hydrated skin can handle the treatments better and recover more quickly. This is really just an everyday suggestion but dehydrated skin is way more painful when messed with.
- Sun Protection: Protecting your skin from sun damage is always important, but it’s crucial in the weeks leading up to your treatment. Apply a broad-spectrum sunscreen with at least SPF 30 daily, and reapply as needed, especially if you spend significant time outdoors. This helps prevent sunburns, which can make your skin too sensitive for treatment.
- Maintain a Gentle Skincare Routine: In the days leading up to your treatment, stick to a gentle skincare routine. Use a mild cleanser, or a soothing moisturizer, and, as mentioned, don’t forget your sunscreen. Keeping your skin calm and soothed is the goal.
By following these pre-treatment care tips, you’re setting the stage for a successful dermaplaning and microneedling experience. Not only can proper preparation help enhance the results, but it also minimizes the risk of complications, ensuring a smoother, more comfortable recovery process.
Post-Treatment Aftercare
Proper aftercare is crucial for maximizing the benefits of your Dermaplaning and Microneedling treatments while minimizing potential side effects. Here’s a detailed guide to help your skin recover beautifully:
- Soothing and Protecting: Immediately after treatment, your skin will be more vulnerable, so gentle care is paramount. Use a soothing, hydrating moisturizer and a broad-spectrum sunscreen with an SPF of 30 or higher to protect from UV damage. I’ve been using this Pipette SPF 50 because it’s non toxic (made for babys) and affordable and I really like it.
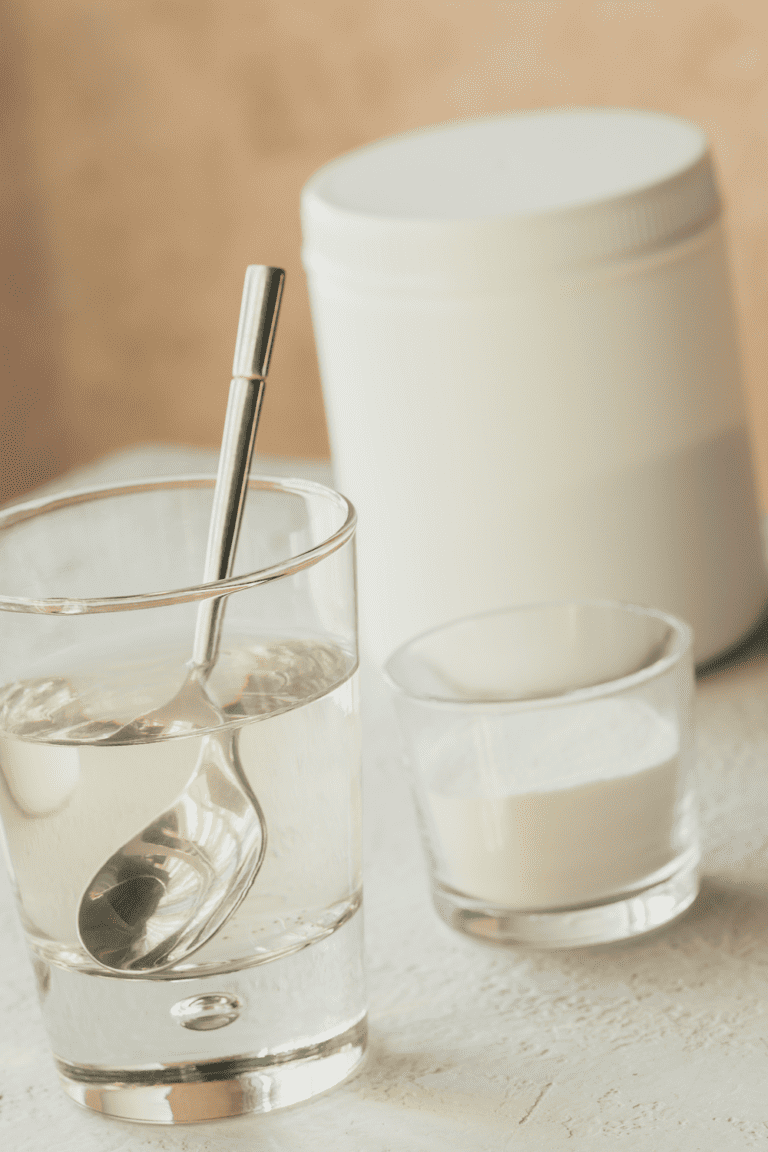
- Let the Good Stuff Soak In: After either dermaplaning or microneedling your skin is going to be super absorbent. This is a great time to break out your best non toxic skin care (no acids or any skin care products that cause exfoliation) like hyaluronic acid, peptides, and nourishing face oils.
- Avoid Makeup: Give your skin a break from makeup for at least 24-48 hours after treatment. This allows your skin to breathe and heal without the risk of clogging pores or introducing bacteria. When you do start wearing makeup again, ensure your brushes and applicators are clean to prevent infection.
- Stay Cool: Avoid direct heat sources, such as saunas, steam rooms, and hot showers, for a few days post-treatment. Excessive heat can exacerbate redness, swelling, and irritation in the treated areas (it also stings!).
- Stay Hydrated and Eat Healthily: Enhance your skin’s healing from the inside out by drinking plenty of water and eating a diet rich in vitamins and minerals. Foods high in antioxidants, omega-3 fatty acids, and vitamins C and E can support skin health and aid in recovery.
By adhering to these post-treatment aftercare tips, you’re helping your skin to heal effectively, ensuring the best possible outcomes from your dermaplaning and microneedling treatments. Remember, the key to beautiful results lies not just in the treatment itself but also in how you care for your skin afterwards.
My Go-to Skin Care Products Immediately Post Dermaplaning or Microneedling


Heritage Store Organic Castor

Expected Outcomes: Dermaplaning vs Microneedling Results
While results can vary, most people can expect:
Immediate Effects:
- Dermaplaning: Directly after treatment, your skin will appear brighter, smoother, and more even in tone. The removal of peach fuzz and dead skin cells can also make your face feel incredibly soft to the touch.
- Microneedling: Your face will be very red and feel tight and maybe sting and/or itch. If you used numbing cream, you’ll still be numb for 30-60 minutes.
Longterm Effects:
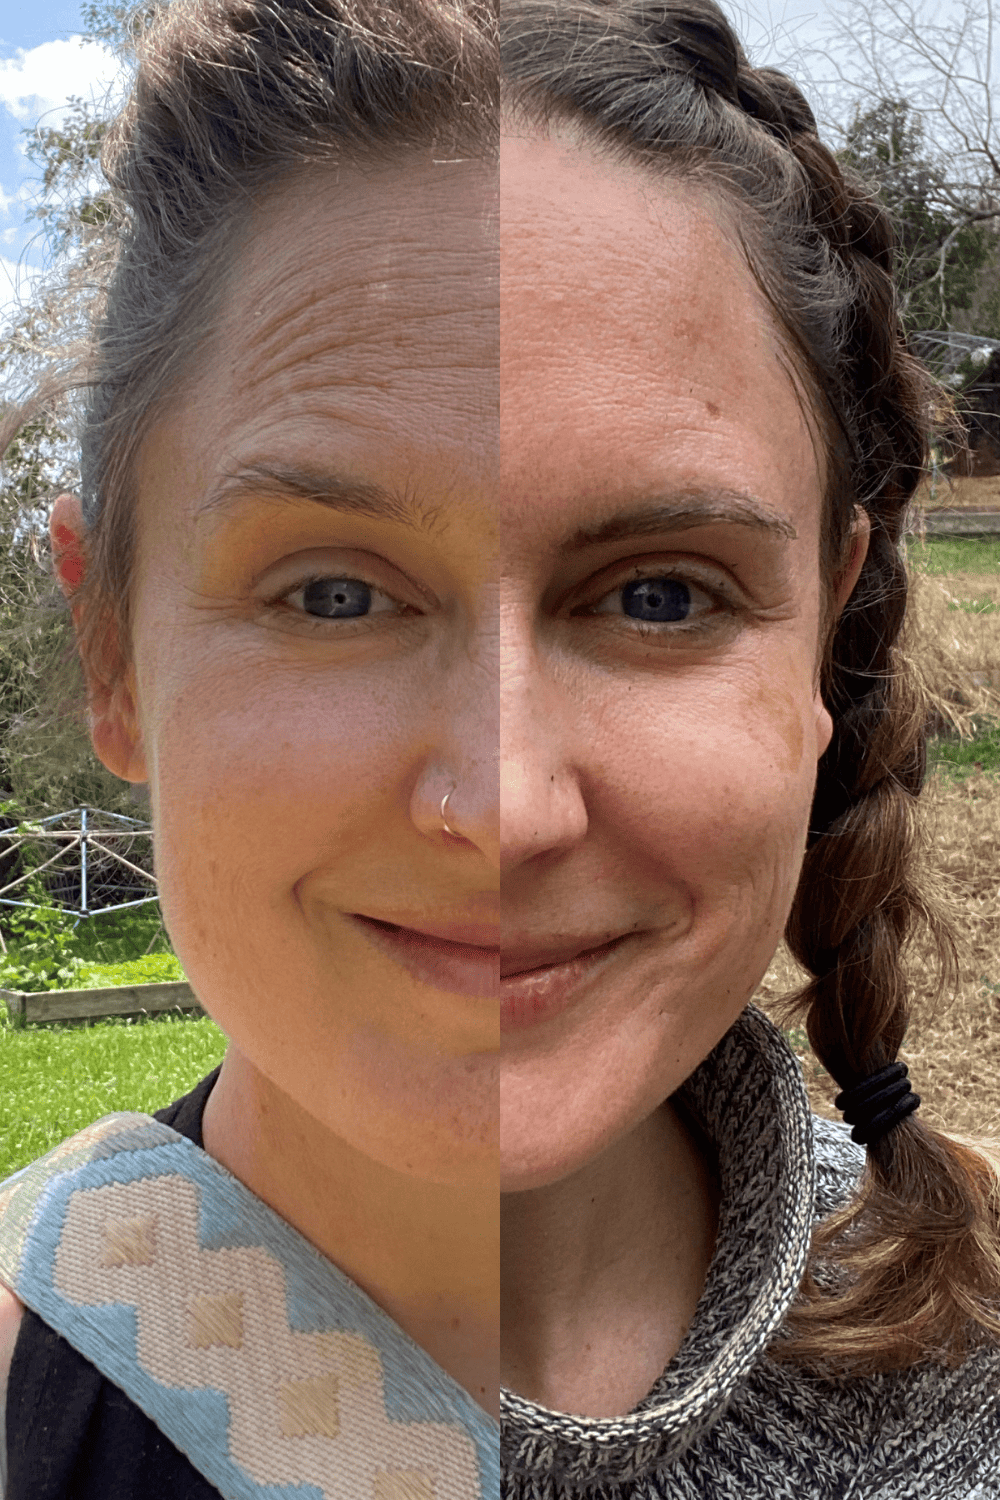
- Dermaplaning: You will enjoy the effects of your dermaplaning for about a month as your facial fuzz grows back and your skin heals. Because you removed a tip top layer of skin you will also enjoy brighter skin from some removed dead skin cells that might have been causing discoloration. It’s important to nourish your skin and protect it with SPF to prolong these results.
- Microneedling: Collagen takes about 6 months to renew so while you’ll be fully healed and experience a bit more glow about 2 weeks after microneedling you won’t reap the full rewards until months later.
Dermaplaning vs Microneedling: Which Is Right for You?
This powerful combination isn’t for everyone. Here are some considerations:
- Skin Type and Sensitivities: While these treatments are generally safe for all skin types, those with active acne, skin infections, or certain skin conditions should proceed with caution. A professional consultation can help determine if these treatments are safe for you. If you have reacted poorly to other skincare choices in the past you’re more likely to struggle in the future.
- Personal Goals: Consider what you’re looking to achieve with your skincare treatments. This combination is excellent for those looking to enhance skin texture, reduce signs of aging, and achieve a more radiant complexion.
Conclusion
Dermaplaning vs microneedling: these two modalities are similar in that they both help exfoliate and rejuvenate your skin. They are different in that dermaplaning is painless and has no recovery time and microneedling can be a bit painful and has a longer recovery time. Dermaplaning removes hair while microneedling helps your skin produce collagen overtime (collagen actually takes 6 months to produce). I prefer long term results of microneedling so that is the procedure I prioritize but I will always work in dermaplaning whenever I notice my face is getting fuzzy. Dermaplaning is always best when you need a quick solution with low risk.
This post was about dermaplaning vs microneedling.
More posts like this…
Top 6 Best Dermaplane Blades for At-Home Dermaplaning
Dermaplaning vs Chemical Peel: Which is Best For You?
Dermaplaning at Home: Choosing the Best Dermaplaning Scalpel
10 Essential Steps for Effective Dermaplaning Aftercare
Dermaplaning and Microneedling: Get the Glowing Look Celebrities Love
Favorite Clean Beauty Posts


Last update on 2026-07-13 / Affiliate links / Images from Amazon Product Advertising API
This product presentation was made with AAWP plugin.