How to do Red Light Therapy at Home: A Comprehensive Guide
This post is about how to do red light therapy at home.
How to do red light therapy at home may contain affiliate links, which means I’ll receive a commission if you purchase through my link, at no extra cost to you.
Red light therapy, also known as low-level laser therapy (LLLT) or photobiomodulation (PBM), is growing in popularity because, well… it’s Science-backed to show results and super easy to use. The positive effects of redlight therapy were first discovered by Hungarian physician Endre Mester in the 1960s however for decades his research findings were dismissed.
It wasn’t until decades later that another Scientist put red light therapy back on the map and since then it has been further studied and developed by NASA and the military and eventually accepted by the medical and beauty communities as an outstanding option for natural healing.
Whether you’re looking to improve skin health, alleviate pain, or boost overall well-being, incorporating red light therapy into your routine at home is both convenient and accessible. Here’s a comprehensive guide on how to do red light therapy in the comfort of your own home.
Step 1: Choose the Right Device
It’s important to pick the right red light therapy at home device to match your needs. Here are things you need to consider:
- Wavelengths: Different wavelengths offer various therapeutic benefits. Red light (around 630-700nm) is often used for skin health, while near-infrared light (around 700-1100nm) penetrates deeper and may aid in pain relief. Note that the optimal wavelengths that are most used in research and application are around 630 for red light therapy and around 850 for infrared light.
- Irradiance: This measures the strength of the light. From the research studies I’ve read, it seems that the optimal irradiance is between 5-100 with the 20-100 range being most common.
Above 100 has been shown to cause some aging effects to the skin so note that stronger isn’t always better, it depends on the density of the area being treated (for instance you’d need stronger power to treat the brain through the skull than the face skin.
It also matters how close you are to the light so red light panels with irradiance levels that seem a little high decrease if you are further from them. Usually, 6-18 inches is the suggested range but always check with the manufacturer first.
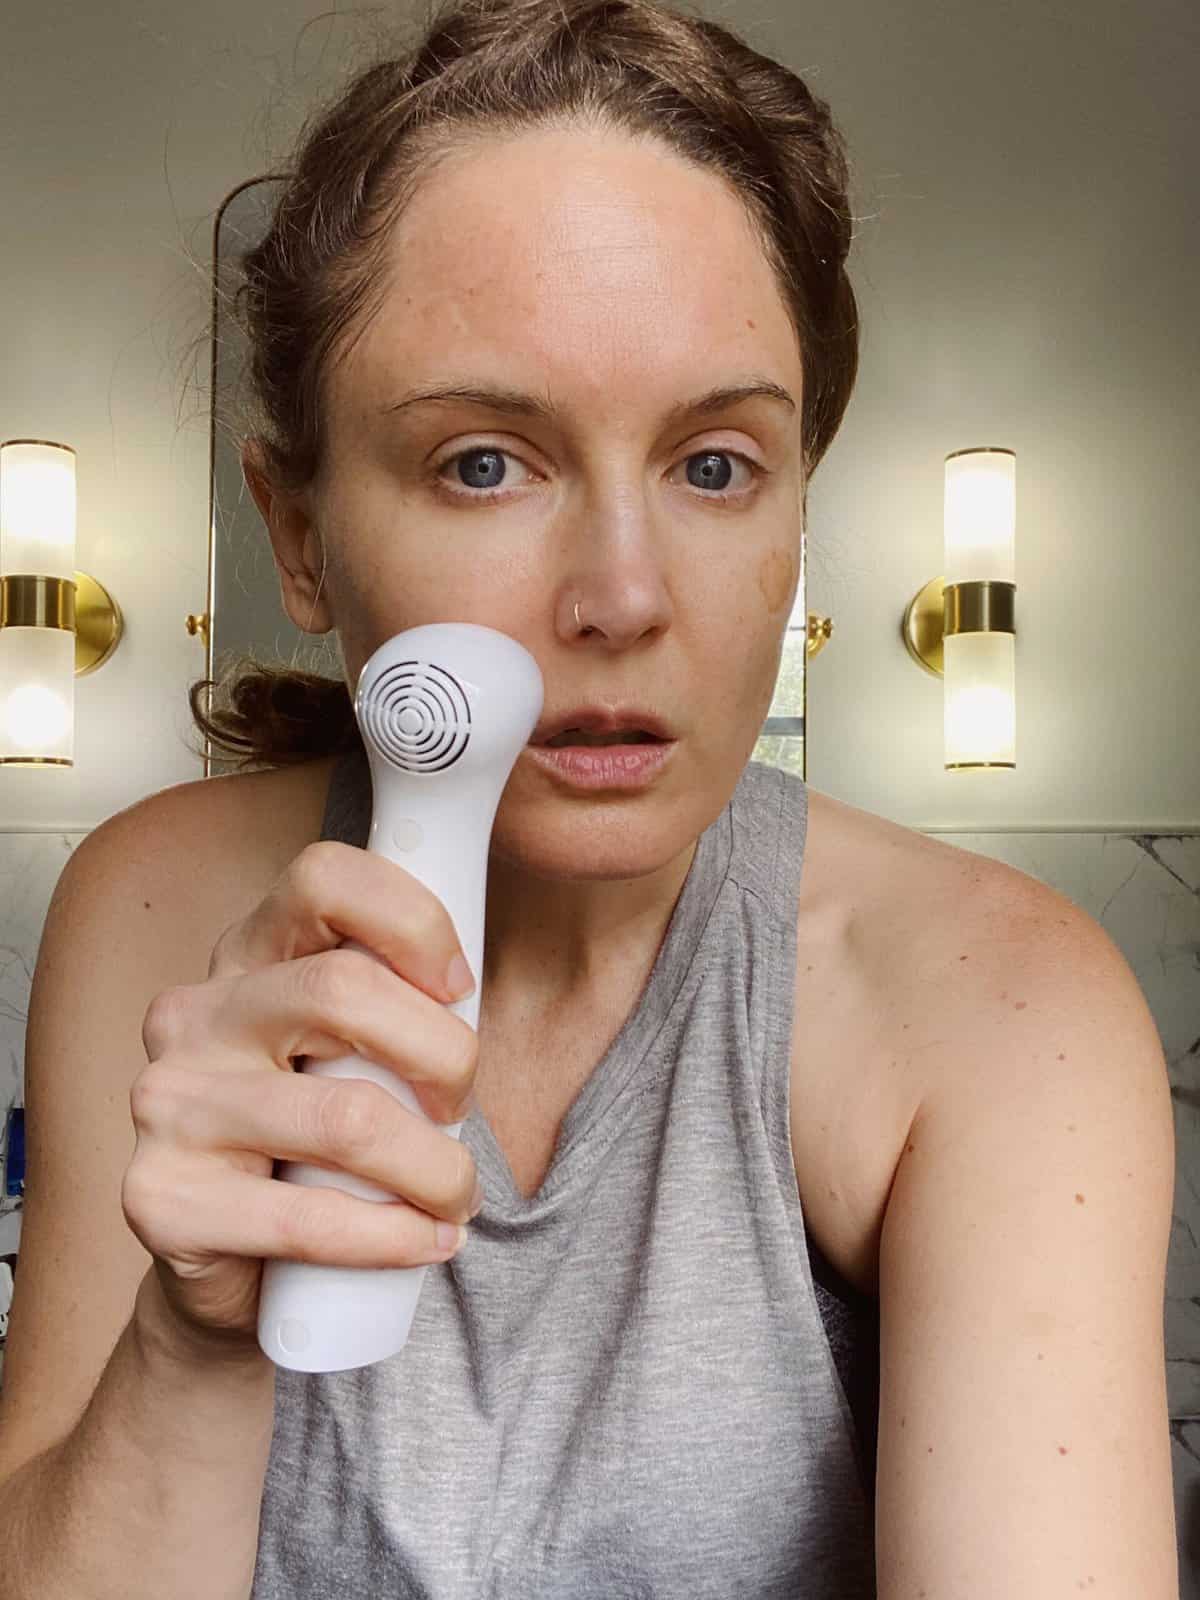
- Device Type: Options include handheld wands, panels, mats & wraps, and masks. Choose one that lines up with your specific needs and the area you want to treat. Think about ease of use and don’t buy a beauty device to use for pain… the beauty device is going to not be as strong and will use different wavelengths.
Step 2: Read the Instructions
Once you’ve selected a device, thoroughly read the manufacturer’s instructions. Pay attention to guidelines on:
Distance:
Maintain the recommended distance between the device and your skin for optimal results. Devices that target one area or the skin usually are used a little closer while devices for treating a larger area or the whole body are usually used 6-18 inches away.
It is important for the light to be dispersed so make sure you are following the recommended distance and your device is quality made and FDA cleared.
Duration:
Follow the suggested treatment length. Longer sessions don’t necessarily mean better results, so adhere to the guidelines. Most of the time treatment sessions are 10-30 minutes.
Frequency:
Determine how often you should use the device. Consistency is key for positive outcomes but again, you don’t want to overdo it. I was using my Currentbody mask 7 days a week until I realized the recommended frequency was 3-5 days. On the flip side, to see results you need to be consistent and use the therapy enough.
Step 3: Set Up Your Space
I learned through use that red light therapy use becomes a practice in patience and relaxation. When I first got my Currentbody mask I thought I could wear it while working on my computer… HA! Nope, it’s way too bright to do that. Instead, I have learned that I need to just lie down and relax for ten minutes. When I use my Thera Tri-Lite panels in my Therasage sauna I also have to just sit still for a while.
You’ll want to find a comfortable space to sit, lay, stretch, or meditate while using your therapy. I have seen some people attach panels to a wall so they can kind of go about their routine with it on but it’s hard to be close enough for the light to be effective when you are trying to multi-task.
You’ll also want to have your device, if it’s larger in a place that you will use it often instead of tucked away in a closet where it’s hard to get to.
Step 4: Wear Protective Gear
While red light therapy is generally safe, it’s advisable to protect your eyes during sessions, especially if the device emits bright light. Use protective goggles or follow the manufacturer’s recommendations.
Step 5: Begin the Session & Set Up a Routine You Will Stick To
- Maintain Consistency: Stick to a consistent routine. Whether you’re targeting specific areas or doing full-body treatments, regular use is key.
- Relax: Use the session as a time to relax and unwind. This is a great time to meditate, listen to music, listen to audiobooks, pray… you get the point.
My Top Picks for How to Do Red Light Therapy At Home Devices
All of the devices on my list are FDA-cleared. If you’d like to check out my complete list of FDA cleared devices you can read this article next.
- Favorite Red Light Therap Mask for Beauty/Anti-Aging/Acne: CurrentBody Skin LED Light Therapy Face Mask Use code “AshLED” for their best discount.
- Favorite Affordable Red Light Therapy Panel & Mat for Pain & Wellbeing: Therasage Thera Tri-Lite
- Favorite Fancy Red Light Therapy Panels: Joovv
- Favorite Laser for Pain: MULTI RADIANCE LASER SHOWER PACKAGE: SUPER PULSED RED LIGHT LASER
- Favorite Multi-Use Highend Device: Lightstim Elipsa
- Favorite Wand For Beauty: SOLAWAVE: BYE ACNE: 3-MINUTE PIMPLE SPOT TREATMENT
Conclusion
I’m not going to lie, red light therapy is absolutely amazing and there is zero reason it should not be used at home. If you purchase an FDA-cleared device with the correct wavelengths and irradiance (strength) and use it consistently then the benefits of using red light therapy can match (or come close to it) those of going to a clinic.
More posts like this…
FDA Approved Red Light Therapy at Home: The Truth You Need to Know
The Top 5 Strongest Red Light Therapy at Home Devices
Affordable Red Light Therapy at Home